Migrating VMs from VMware Workstation 25H2 to ESXi 8
🧩 Problem#
I had several Windows VMs running in VMware Workstation 25H2 on my Windows PC and wanted to migrate them across to my ESXi 8 host (esx03) for centralized management under vCenter.
Along the way I hit two blockers in sequence:
-
vmx-22hardware family not supported during OVF import into ESXi 8 -
vTPM encryption requirement — the VM failed to create because it had a virtual TPM but VM encryption wasn’t configured on the standalone host
🔧 Environment#
-
Source: VMware Workstation Pro 25H2 (Windows PC)
-
Target: ESXi 8.0.3 (
esx03) — standalone host, no shared storage -
VM: Windows 11, 8 GB RAM, 4 vCPU, 100 GB NVMe disk
-
Both hosts on same LAN subnet
-
Export tool:
ovftool.exe(bundled with Workstation)
🚧 Blocker 1: Unsupported Hardware Family vmx-22#
Symptom#
During the OVF import wizard in the ESXi host client, the Ready to complete step failed with:
Line 25: Unsupported hardware family 'vmx-22'.

There was an error creating the import specification from the OVF file.
Root Cause#
VMware Workstation 25H2 defaults to the latest virtual hardware version — vmx-22 — which the ESXi 8.x OVF import parser doesn’t recognise. ESXi 8.0 understands up to vmx-20 or vmx-21 depending on patch level, but vmx-22 was introduced in a newer Workstation release not yet mapped to an ESXi version.
Fix: Downgrade Hardware Compatibility in Workstation#
-
Shut down the VM in Workstation
-
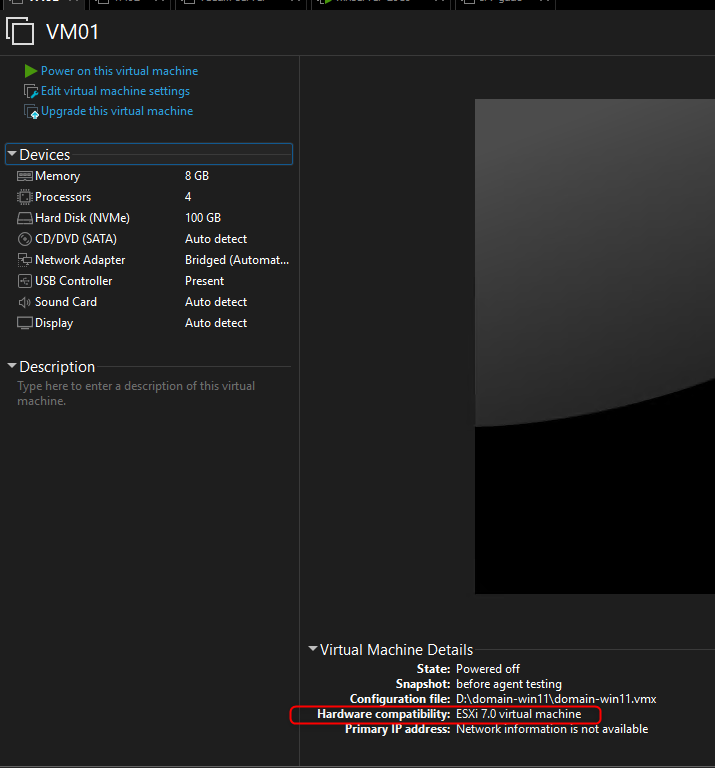
Right-click the VM → Manage → Change Hardware Compatibility…
-
Set the target to ESXi 7.0 (ESXi 8.0 wasn’t listed in Workstation 25H2 at the time)
-
Complete the wizard — this downgrades the vmx version to
vmx-19/vmx-20
ESXi 8 is fully backward-compatible with older vmx versions, so targeting ESXi 7.0 in Workstation has no functional impact on the migrated VM.
!
🚧 Blocker 2: vTPM Encryption Requirement#
Symptom#
After fixing the hardware version, the import completed the OVF deployment stage but the VM creation failed:
State: Failed

The virtual machine must be encrypted in order to add a Trusted Platform Module.
Root Cause#
The Windows 11 VM had a virtual TPM (vTPM) device — required by Windows 11 at install time. On ESXi, any VM with a vTPM must have its VM home files encrypted, which requires a Key Provider configured in vCenter. On a standalone ESXi host (no vCenter), there’s no native way to configure a Key Provider through the host client alone.
VMware Workstation’s vTPM doesn’t have this encryption dependency, so the OVF carried the TPM device definition across but ESXi refused to create the VM without the matching encryption layer.
Fix: Remove vTPM + Disable BitLocker Before Export#
Since the vTPM was only there to satisfy Windows 11’s install-time requirement (not actively used for encryption), the cleanest fix was to remove it from Workstation before exporting.
Step 1: Check for BitLocker inside the VM
Before removing the TPM, confirm BitLocker isn’t actively protecting any volumes — removing a vTPM while BitLocker is TPM-sealed will render the volume unrecoverable.
Run inside the guest (elevated PowerShell or CMD):
manage-bde -status
If any drive shows Protection: On, decrypt it first:
manage-bde -off C:
Wait for decryption to complete before proceeding.
Step 2: Remove the vTPM in Workstation
-
Shut down the VM
-
Open VM Settings → Hardware
-
Select Trusted Platform Module → click Remove
-
Accept the warning (safe to proceed once BitLocker is confirmed off)
Step 3: Re-export with ovftool
cd "C:\Program Files (x86)\VMware\VMware Workstation\OVFTool"


.\ovftool.exe "D:\domain-win11\domain-win11.vmx" "G:\Export\VM01.ova"
!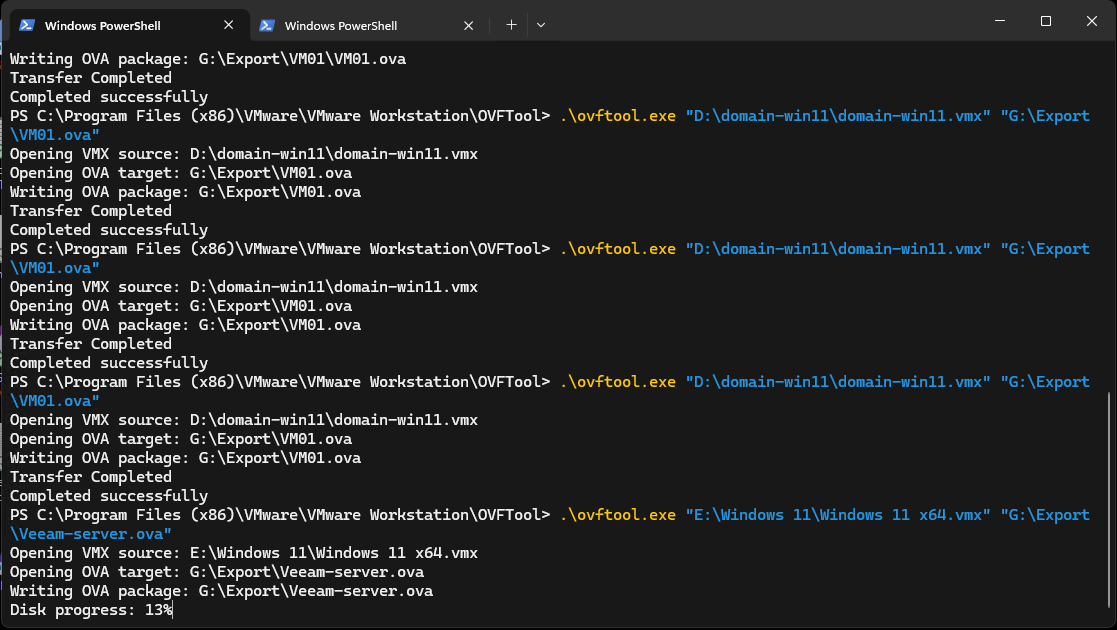
For a 100 GB disk, expect the export to take 10–25 minutes depending on actual data written.
✅ Import into ESXi 8#
With the hardware version downgraded and vTPM removed, the OVF import completed cleanly:
-
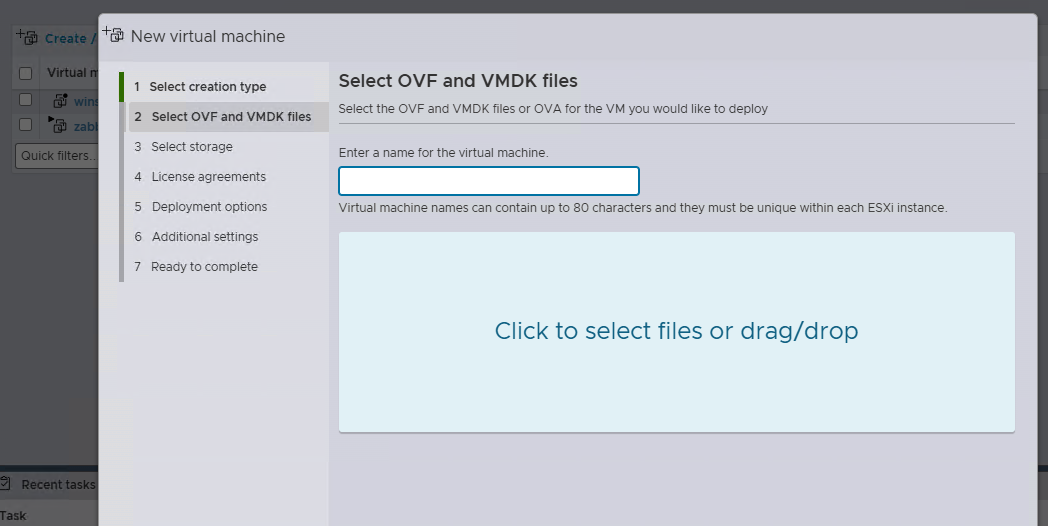
Log into the ESXi host client:
https://<esxi-ip>/ui -
Virtual Machines → Create/Register VM
-
Select Deploy a virtual machine from an OVF or OVA file
-
Upload
VM01.ova -
Select datastore and map the network adapter to the correct ESXi portgroup
-
Deploy
! #
#
🔧 Post-Migration Steps#
After first boot on ESXi:
-
Update VMware Tools — ESXi will prompt for an upgrade; Workstation Tools and ESXi Tools are compatible but not identical
-
Fix network adapter — the VM came in with a bridged network reference that needed remapping to the correct ESXi VM Network portgroup; verify the IP is correct once booted
-
Re-enable BitLocker if needed — without a vTPM, BitLocker must use password-based unlock instead of TPM-based. To re-enable:
manage-bde -on C: -Passwordor configure via Group Policy
📋 Quick Reference: vmx Version Compatibility#
| vmx version | VMware Platform |
|—|—|
| vmx-22 | Workstation 25H2 (newest) |
| vmx-21 | ESXi 8.0 U2/U3 |
| vmx-20 | ESXi 8.0 |
| vmx-19 | ESXi 7.0 U2 |
| vmx-18 | ESXi 7.0 |
🧠 Key Takeaways#
-
VMware Workstation 25H2 defaults to vmx-22, which ESXi 8.x’s OVF import parser doesn’t yet support — always downgrade hardware compatibility before exporting
-
vTPM requires VM encryption on ESXi — on a standalone host without vCenter + Key Provider, vTPM VMs cannot be imported directly; removing the vTPM is the practical workaround
-
Always check BitLocker status before removing vTPM — decrypting first avoids data loss
-
ovftoolis more reliable than the Workstation GUI export — better error output and supports compression flags -
Targeting ESXi 7.0 in Workstation’s hardware compatibility wizard produces a vmx version that ESXi 8 happily accepts
🚀 Next Steps#
-
Re-add vTPM to Windows 11 VMs via vCenter once a Native Key Provider is configured
-
Re-enable BitLocker with TPM-based unlock once vTPM is restored
-
Migrate remaining Workstation VMs (
kali-linux,ubuntu-spare,winserver-2016,VM02) using the same process